When you have a few extra hours on the weekend, why not give your oven a clean? It helps to make your oven cook evenly and last longer, and it is another way to have your house look and feel cleaner. This article will show you a few tips to understand your self-cleaning oven.
- Instructions – What to do if you don’t have them: Most models made in the last 10 to 15 years have full instruction booklets available online that you can search on the company website that your oven belongs to. You will likely need the full model name to be able to find the instructions, so make sure you make a quick search if you are uncertain.
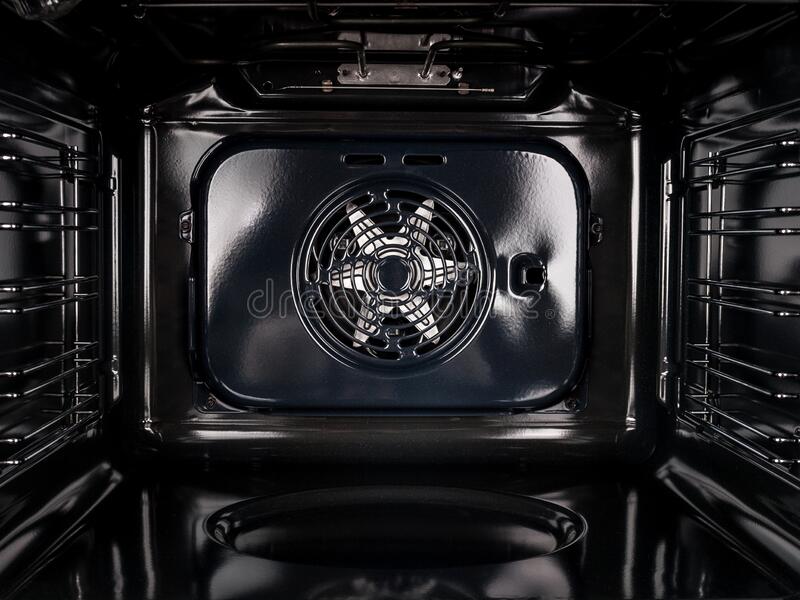
- Porcelain Enamel, also called ‘pyrolytic coating’- What is it, and how do you treat it?: It is an enamel layer on the inside of your oven that helps your oven to heat up to such high temperatures. It is not made of Teflon, as the word Pyrolytic may have you think. It actually uses a fired porcelain layer that helps to loosen and remove dirt, grime, and grease using heat.
- Pre-cleaning precautions: Ensure that you have proper ventilation, remove loose stuck-on food with a damp towel if possible, remove the internal oven racks, and keep any pets and young children away. For certain models, you can also move your oven away from the wall, but make sure this works with your particular oven, and don’t try it while the self-clean cycle is on.
- Heat: in some self-cleaning ovens can reach from 900 to 1000 degrees. Because of this, they must self-lock while cleaning. Almost all modern self-cleaning ovens have a lock setting during self-cleaning to avoid any potential accidents. You should hear a sharp click after you have set the self-clean cycle, and even gently check to make sure the lock is set to avoid any accidents.
- Timing – Make sure you have 3-4 hours to clean the oven: The entire process can take 4 hours, it depends on the oven you have and what your instruction manual indicates. If you have already planned a cleaning day, see if you can include an oven clean, as you should try and clean the oven about once a season. Turn on the cleaning cycle before you clean your kitchen and move on to other areas of your home while the oven is on, and make your way back to the kitchen as the last room on your list. Once the cycle is done and you have begun scrubbing your kitchen, take on the final steps with your self-cleaning oven, making sure it has finished cleaning.
- WASH AFTER CYCLE – remove all the ash left from the bottom of the oven that has been dislodged during cleaning with a damp cloth. If there is any grime left on the oven door after you have run the self-clean cycle, sprinkle baking soda onto the door and spray some water, enough to make a paste. Leave the mix on as long as you feel is necessary, and simply wipe it away. The use of any bottled or aerosol oven cleaners is completely unnecessary at this point, as your cleaning cycle has been completed.
How do the steam clean ovens work, compared to the heat cycle?
Contrary to popular belief, steam self-cleaning ovens are just as effective as high-temperature self-cleaners as long as you run a cleaning cycle more often. The recommended amount per year is every 2 months. They tend to take less time and help your oven cook more evenly, efficiently, and last longer.
Whether you have a steam or extreme heat self-cleaning oven, once the cycle is finished and the racks are put back in, it is still a good idea to wipe and sanitize the stovetop, remove any elements on your stovetop and lift up the range to clean any dirt or grime that may be underneath the stove. Then, your oven is completely cleaned for another season. So, what are you waiting for?